
It has been an old dream to teach a computer to see, i.e. to hold something in front of a camera and let the computer tell you what it sees. For decades it has been exactly that: a dream – because we as human beings are able to see, we just don’t know how we do it, let alone be precise enough to put it into algorithmic form.
Enter machine learning!
As we have seen in Understanding the Magic of Neural Networks we can use neural networks for that. We have to show the network thousands of readily tagged pics (= supervised learning) and after many cycles, the network will have internalized all the important features of all the pictures shown to it. The problem is that it often takes a lot a computing power and time to train a neural network from scratch.
The solution: a pre-trained neural network which you can just use out of the box! In the following we will build a system where you can point your webcam in any direction or hold items in front of it and R will tell you what it sees: a banana, some toilet paper, a sliding door, a bottle of water and so on. Sounds impressive, right!
For the following code to work you first have to go through the following steps:
- Install Python through the Anaconda distribution: https://www.anaconda.com
- Install the R interface to Keras (a high-level neural networks API): https://keras.rstudio.com
- Load the
keraspackage and the pre-trainedResNet-50neural network (based on https://keras.rstudio.com/reference/application_resnet50.html): - Build a function which takes a picture as input and makes a prediction on what can be seen in it:
- Start the webcam and set the timer to 2 seconds (depends on the technical specs on how to do that!), start taking pics.
- Let the following code run and put different items in front of the camera… Have fun!
- When done click the Stop button in RStudio and stop taking pics.
- Optional: delete saved pics – you can also do this with the following command:
library(keras)

# instantiate the model
resnet50 <- application_resnet50(weights = 'imagenet')
predict_resnet50 <- function(img_path) {
  # load the image
  img <- image_load(img_path, target_size = c(224, 224))
  x <- image_to_array(img)

  # ensure we have a 4d tensor with single element in the batch dimension,
  # the preprocess the input for prediction using resnet50
  x <- array_reshape(x, c(1, dim(x)))
  x <- imagenet_preprocess_input(x)

  # make predictions then decode and print them
  preds <- predict(resnet50, x)
  imagenet_decode_predictions(preds, top = 3)[[1]]
}
img_path <- "C:/Users/.../Pictures/Camera Roll" # change path appropriately
while (TRUE) {
  files <- list.files(path = img_path, full.names = TRUE)
  img <- files[which.max(file.mtime(files))] # grab latest pic
  cat("\014") # clear console
  print(predict_resnet50(img))
  Sys.sleep(1)
}
unlink(paste0(img_path, "/*")) # delete all pics in folder
Here are a few examples of my experiments with my own crappy webcam:

  class_name class_description        score
1  n07753592            banana 9.999869e-01
2  n01945685              slug 5.599981e-06
3  n01924916          flatworm 3.798145e-06
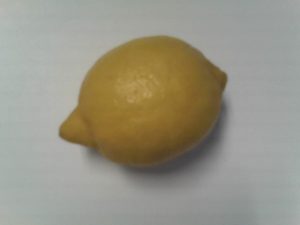
  class_name class_description        score
1  n07749582             lemon 0.9924537539
2  n07860988             dough 0.0062746629
3  n07747607            orange 0.0003545524
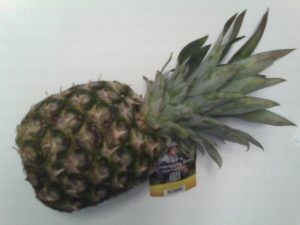
  class_name class_description        score
1  n07753275         pineapple 0.9992571473
2  n07760859     custard_apple 0.0002387811
3  n04423845           thimble 0.0001032234
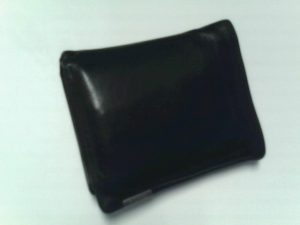
  class_name class_description      score
1  n04548362            wallet 0.51329690
2  n04026417             purse 0.33063501
3  n02840245            binder 0.02906101
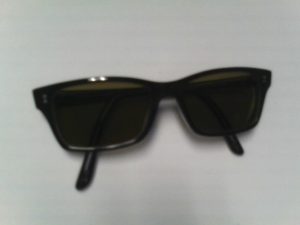
  class_name class_description        score
1  n04355933          sunglass 5.837566e-01
2  n04356056        sunglasses 4.157162e-01
3  n02883205           bow_tie 9.142305e-05
So far, all of the pics were on a white background, what happens in a more chaotic setting?
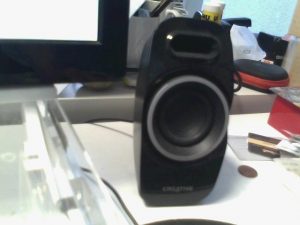
  class_name class_description      score
1  n03691459       loudspeaker 0.62559783
2  n03180011  desktop_computer 0.17671309
3  n03782006           monitor 0.04467739
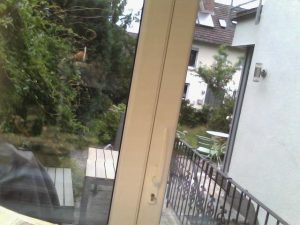
  class_name class_description      score
1  n03899768             patio 0.65015656
2  n03930313      picket_fence 0.04702349
3  n03495258              harp 0.04476695
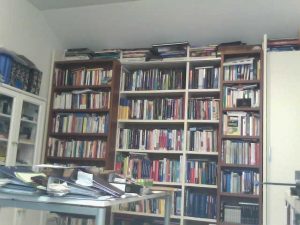
  class_name class_description     score
1  n02870880          bookcase 0.5205195
2  n03661043           library 0.3582534
3  n02871525          bookshop 0.1167464
Quite impressive for such a small amount of work, isn’t it!
Another way to make use of pre-trained models is to take them as a basis for building new nets that can e.g. recognize things the original net was not able to. You don’t have to start from scratch but use e.g. only the lower layers which hold the needed building block while retraining the higher layers (another possibility would be to add additional layers on top of the pre-trained model).
This method is called Transfer Learning and an example would be to reuse a net that is able to differentiate between male and female persons for recognizing their age or their mood. The main advantage obviously is that you get results much faster this way, one disadvantage may be that a net that is trained from scratch might yield better results. As so often in the area of machine learning there is always a trade-off…
Hope this post gave you an even deeper insight into the fascinating area of neural networks which is still one of the hottest areas of machine learning research.
UPDATE October 31, 2022
I created a video for this post (in German):

2 thoughts on “Teach R to see by Borrowing a Brain”